Update July 2024 -
The seller of this head unit has closed shop. We now recommend exploring THIS HEAD UNIT by Vhedia
...
I’m still waiting to install the aftermarket cameras and camera switcher. Currently, the OEM vehicle cameras are unplugged (notes below) and low res reverse camera attached.
NOTE: These notes only relate to if you have a Kakadu.
Same head unit could be used for other models.
It needs to be said, the car was made in 2009, The head unit was installed in September 2023. In the 14 years, there was never a single problem with the amp, stereo, head unit, cameras or DVD rear entertainment system.
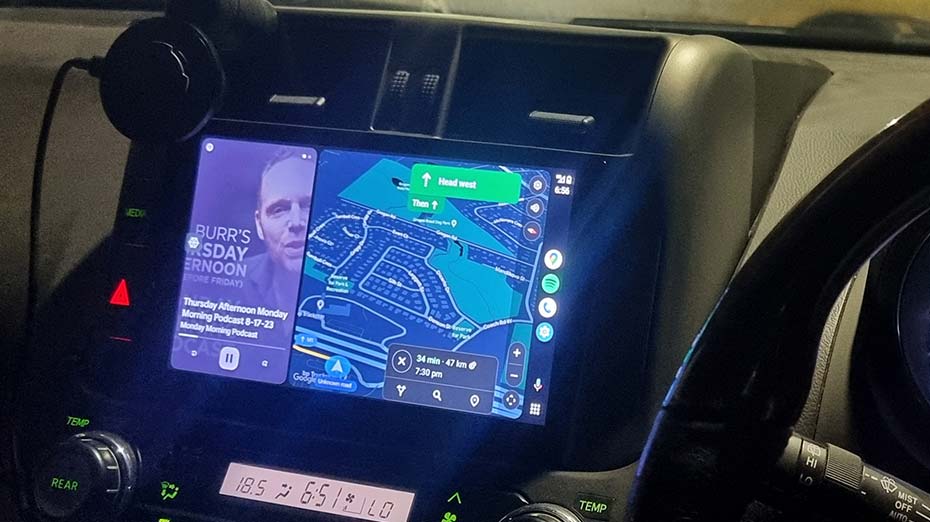
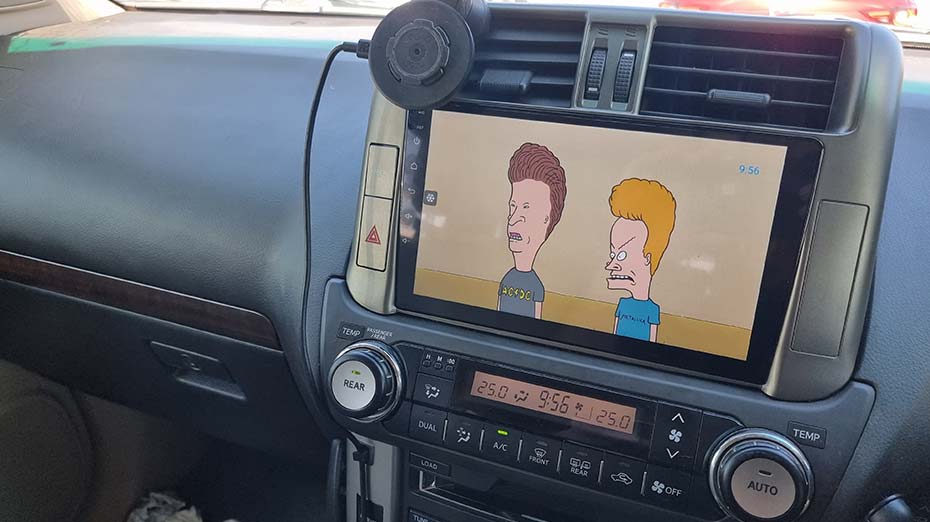
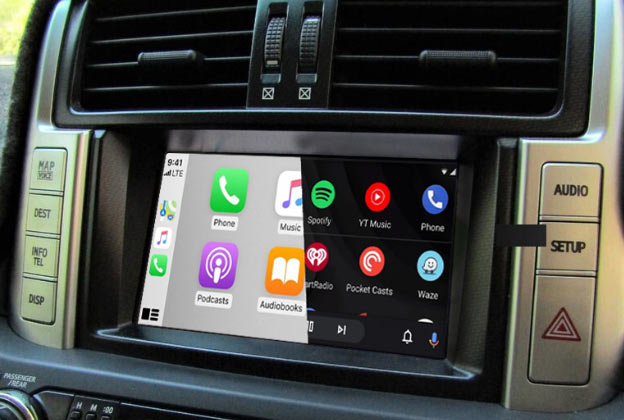
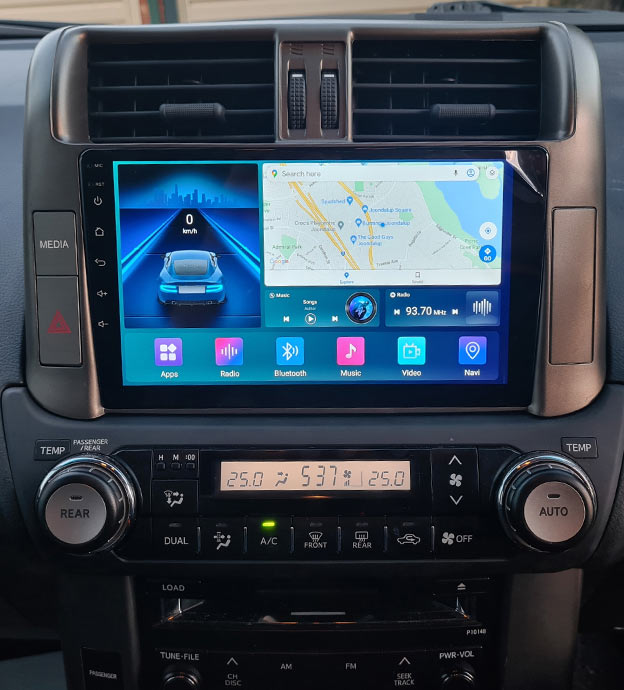
The upgrade was done to contemporaise the feel, get a larger, higher resolution screen and to have access to android apps (such as Waze / google maps and Spotify, without having to look at my mounted mobile phone.
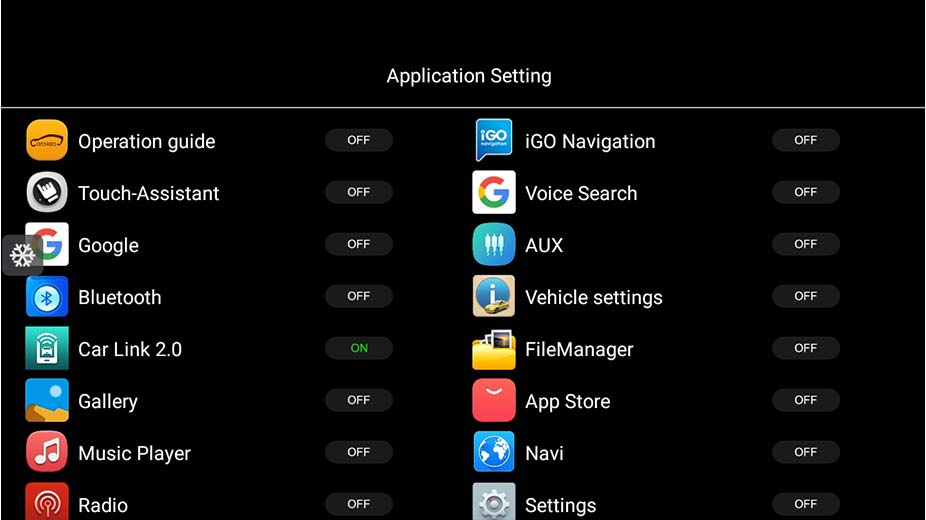
The great thing about Android, is there are thousands of developers constantly making apps.. you just need to find what ones are good.. android auto is simply an app that I’ve made 'auto load' this is a split screen of maps (quick change by buttons on right) and Spotify /audio.
This by far has been the biggest challenge of the build. Countless hours looking into what options and $1,500 lost to dodgy, lying sellers from ebay/AliExpress.
The Problem
The issue with the Kakadu is they used proprietary systems to make it extremely difficult to swap out components with anything relating the head unit or cameras. Pair this in with the Canbus, and how all integrated systems get displayed on the head unit… it becomes very messy..
Cameras: One thing I love about the Kakadu is the front and side camera. It proves to be very useful when creeping out in front when beside larger vehicles when waiting at an intersection to see traffic etc. If you say, “I don’t care about the front and side cameras” you may think you could just plug in the rear camera. Nope. The Prado uses different signals that all other manufactures, so you would be needing to run a new camera.
Steering wheel controls: You cannot go to Supercheap / Autobarn to even get an aftermarket steering wheel harness to control steering wheel functions.
Fascia to fit new head unit: The fascia kit is not just the silver side panels, it’s also the centre air vents.. Enquiring at Autobarn, if you want a fascia kit, you’re looking at over $800. To be fair, these probably would be a $100 solution out there..
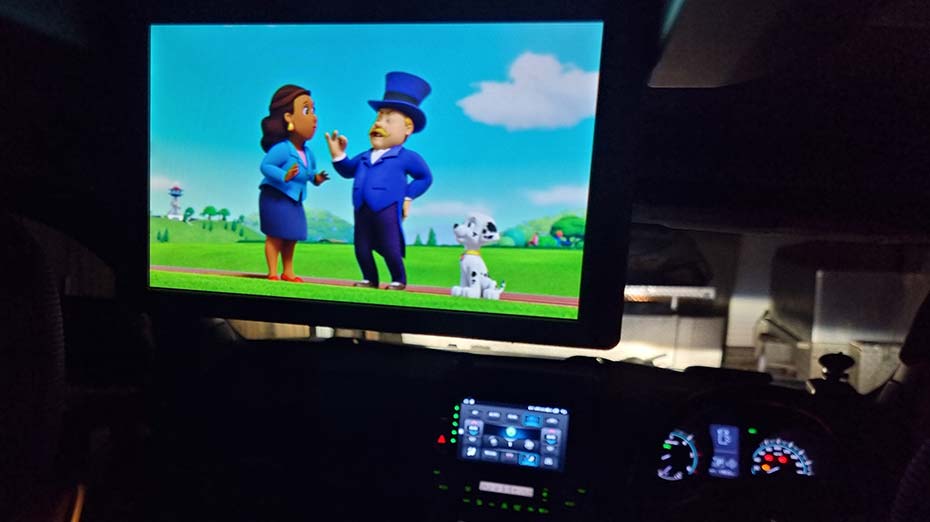
DVD rear entertainment: Only people with younger kids care about this one.. but as I do, this is definitely something I want to keep.
Amplifier: The stock stereo is paired with a JBL amplifier and 14 speakers. The system has excellent sound, but IMO is limited by the user settings on the stock prado head unit.
The Options:
Around 2016 we started to see some solutions entering the market..
-
Integrated Climate Control

The seller would not provide a video of operation – and I was very concerned about how ‘laggy they would be’...
Also, I don’t know how much light it would emit for night driving... could be a distraction.
The last thing I wanted is to have the climate control integrated into the head unit.
I definitely want to retain the existing climate control module with physical buttons and knobs.
As of July 2024, Vehdia entered the market with this unit. It is worth checking outr the speed / lag of the unit...
-
"plug in" system that retains existing screen
"This option is not actually a replacement Head Unit, it's an integration component, think of it as a relationship between a computer and pc components."
The problem I found with this option was the amount of unhappy customers on forums stating if it did work, it did not work for long.. -
"plug and play" | Choosen option
The seller provided me videos of requested operation and was prompt to my reply to my questions.
The Install
This is what came in the box:

Alarm bells were ringing.. as:
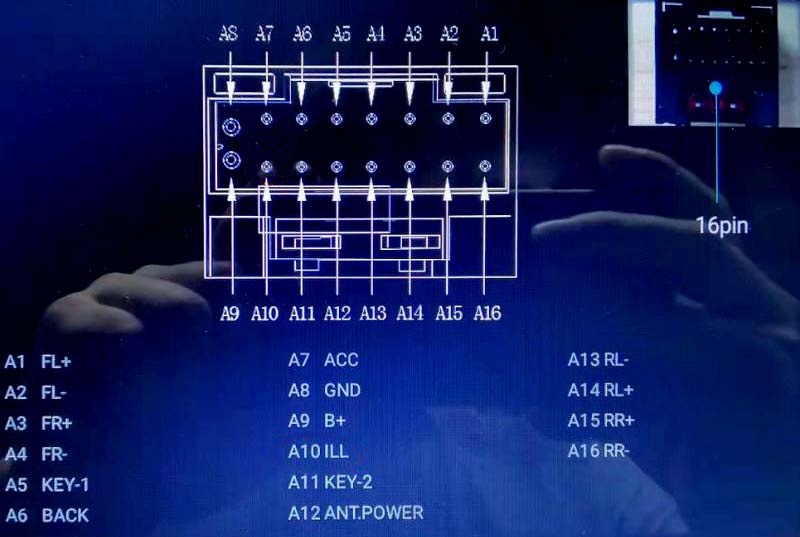
- no manual or instruction was supplied
- no wiring diagram was supplied
Based on the pre sale support, I decided to risk it, and take it down to the auto electrician to have a play .
STEP A: Remove old head unit & separate screen from box
Not as 'Plug and Play' as advertised.- Remove the climate control module
- Unplug the climate control module
- Remove the 2 x bolts that house the OEM head unit
- Unplug all cables from the back of the OEM head unit
- Remove the OEM Head Unit, take to workbench
- Remove fascia from head unit
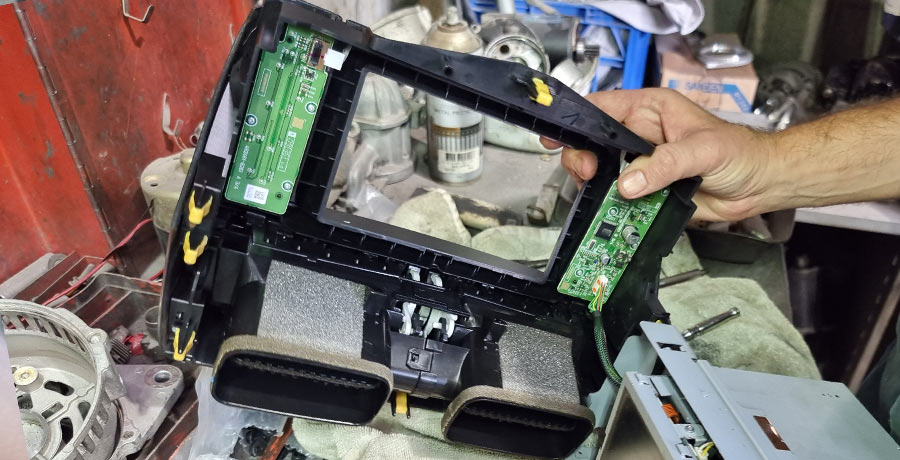
- Disconnect the hazard light plug
- Remove the air vent module from the existing fascia. This needs to be reused in the new head unit fascia. This is a pain in the bum to do.. there are 3 or 4 clips on top and bottom + tones on the side. As soon as you release clips on one side, go to work on the other, the first side clips back in.. painful!
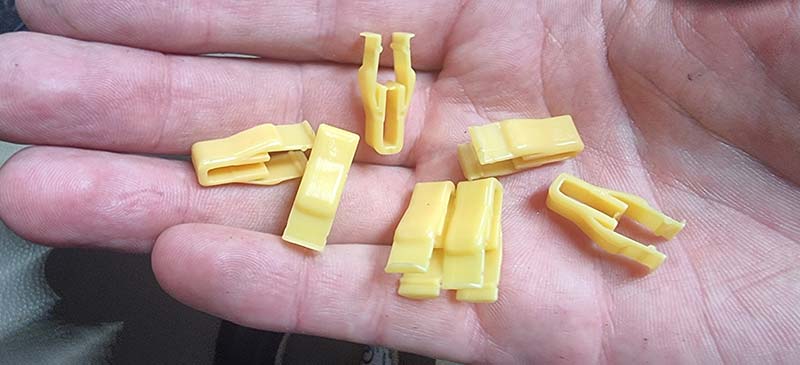
- Remove the ‘yellow clips’ from the old fascia (I used a precision screwdriver) and add to the new fascia.
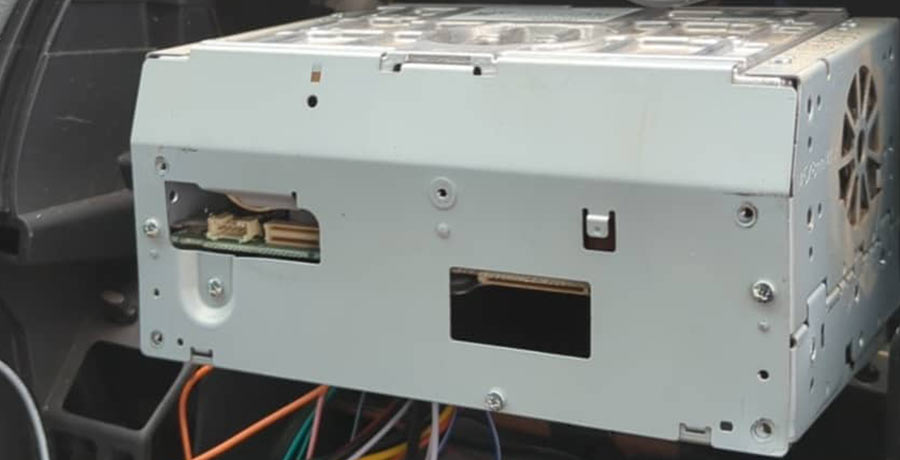
- Remove the screen from the main ’box’. Only screws need to be removed to separate.
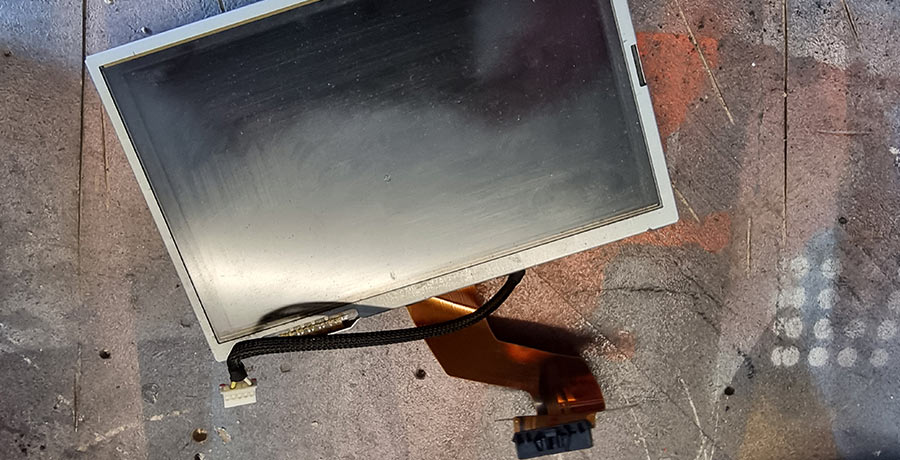
The box without screen should look like this:
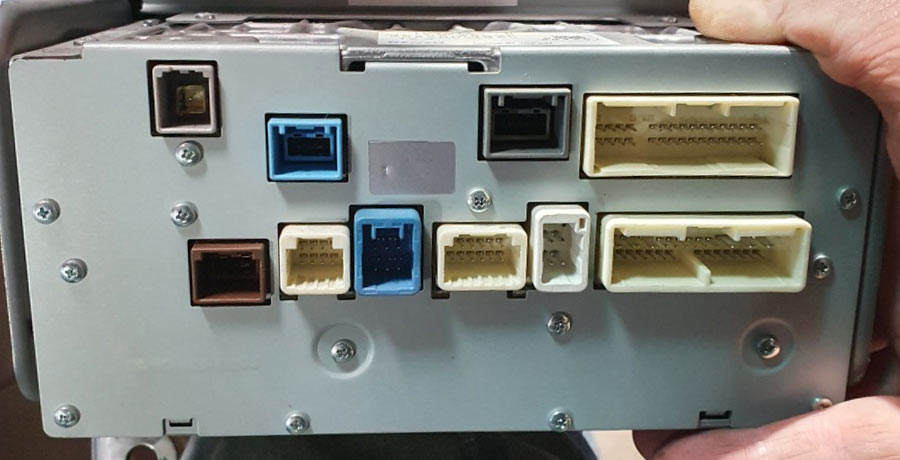
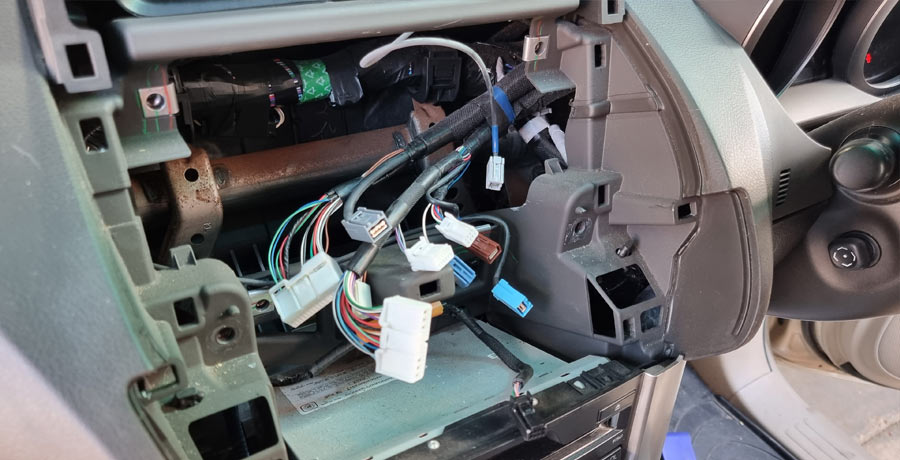
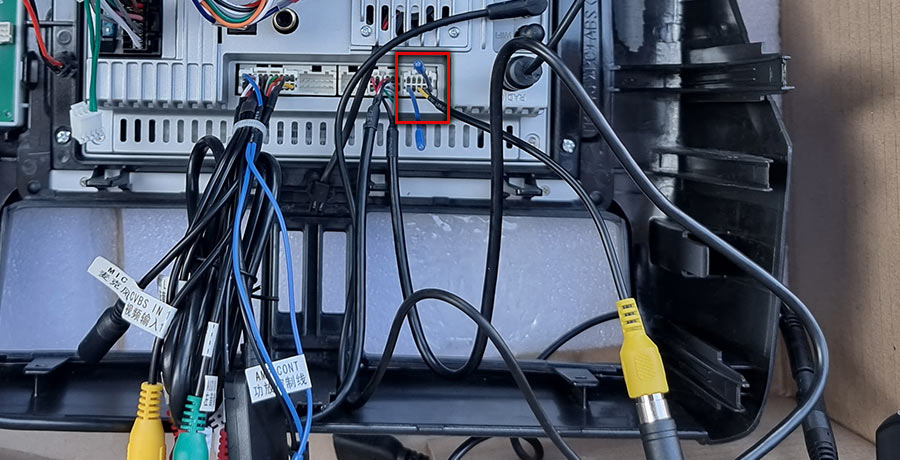
STEP B: Plug cables in to new head unit
fiddly, helps by having a second set of hands.
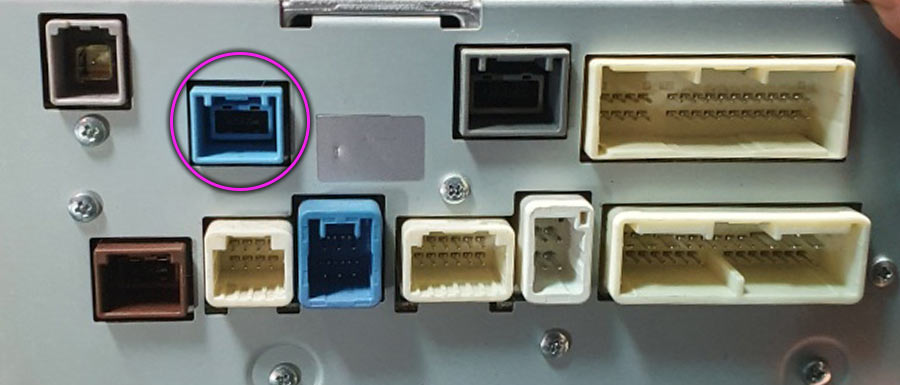
- A: Leave this one unplugged
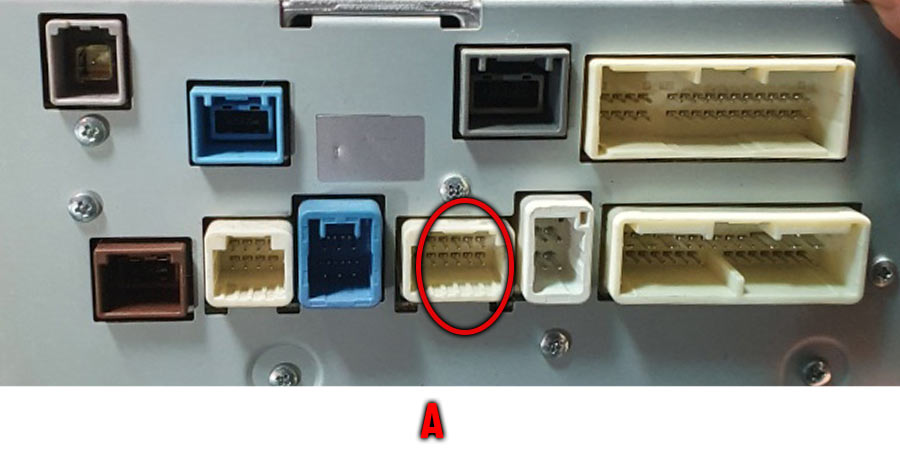
- B: Of the supplied wiring harnesses, Plug ports into these:
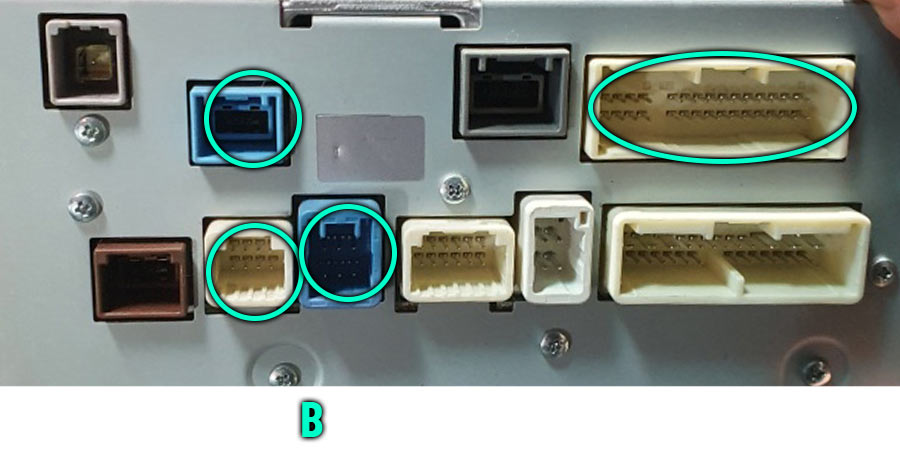
- C: Plug the original car cables back into the other ports :
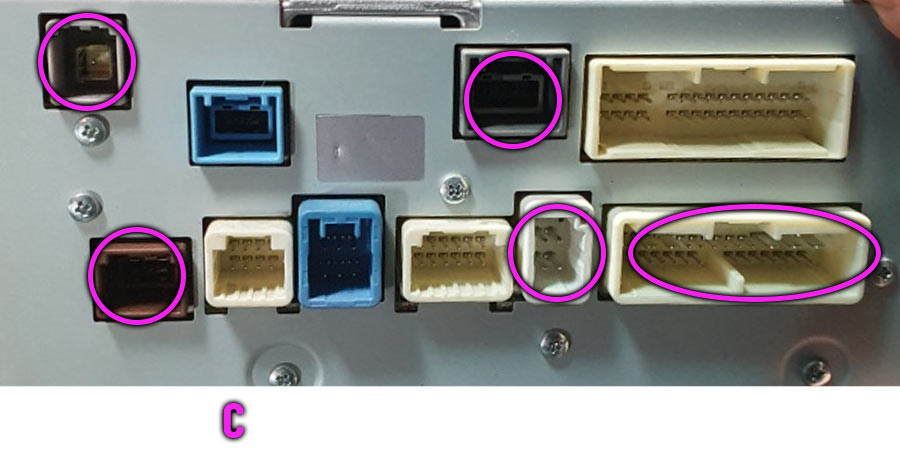
other than 'A.'
STEP C - OPTION 1: retain same OEM cameras
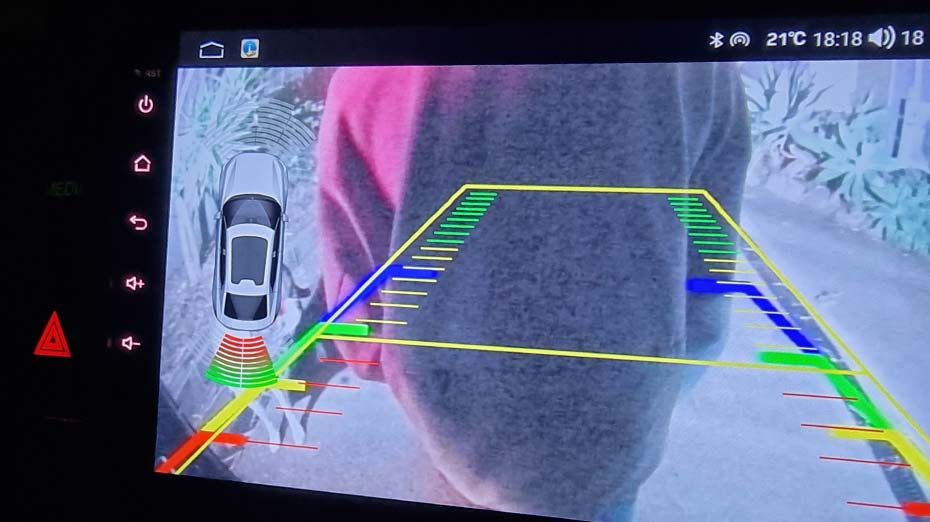
low resolution , does not do your new screen justice.. but keeps the original 'auto display' for slower speeds.- To keep your existing cameras, you simply need to keep this plugged in.
The front and side cameras are linked in by this single ‘blue’ plug (looks similar to a USB).
The run the RCA to the new Head Unit.
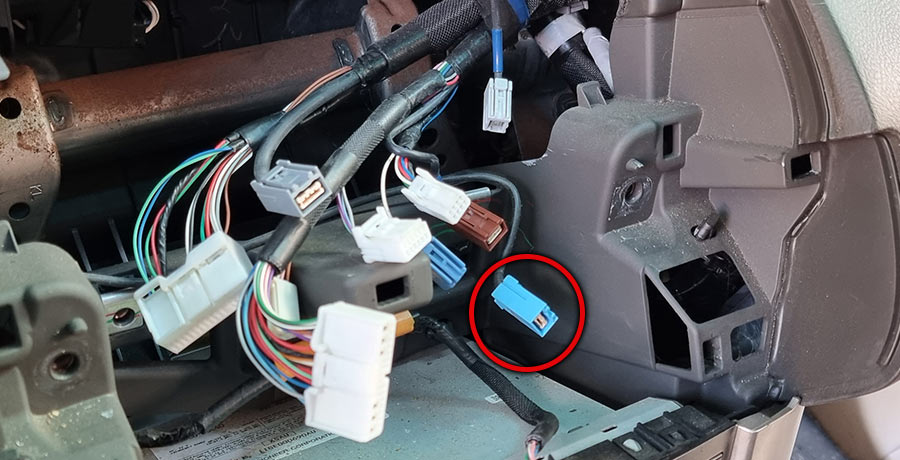
This is the OEM 'Camera In' plug for the OEM 'Box'.
STEP C - OPTION 2: Upgrade cameras
The head unit only supports one camera input (AHD = Analog HD). high resolution, .. loose the original 'auto display' for slower speeds.- To keep your existing cameras, you simply bypass the OEM 'camera' plug, and plug camera / camera selector directly into the head unit.
This is the 'Camera In' plug for the new head unit.
- Position 6 already has reverse 12v.
Tap into this for power to your camera. This will save you tapping into reverse lights.
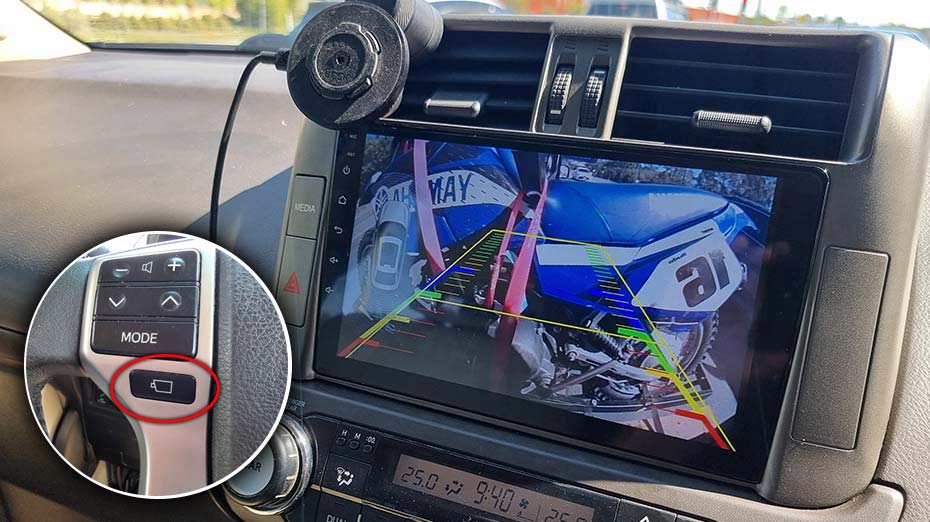
NOTE: Pressing the ‘front camera’ button (under the ‘media’ button ) on the steering wheel will display the video in feed until pressed again – or - if the vehicle goes over 10 KPH. As with the OEM setup, this button is unresponsive / will not display cameras over this speed.
STEP D: Installing the new head unit
- Make sure the wiring harnesses, Wi-Fi and GPS antennas are plugged in to the back of the head unit.
- Plug any remaining plugs into the new head unit.
- Run the microphone through and place where desired. Usually these go on the a pillar, however with the airbags located there,
I decided on this spot. It’s barely noticeable from the diving position.

- Run the USB cables to a desired location. As I already use a Quad Lock wireless charger mounted to the air vent, and
the head unit is wireless Android auto, I didn’t have an immediate need to have the USB cables for regular use.. HOWEVER, I knew I wanted them accessible to transfer
movies / music etc on to the head unit. I decided to temporarily place them on the passenger side footwell and tape them to the padded panel on the right. This way,
they are out of sight, but only need to remove the clipped padding to access it.

- Carefully tuck all cables and module boxes towards the back , then carefully place the complete new head unit back into the cavity.
- Power on to test, check cameras etc.
- Replace the two bolts to hold it in place.
- Replug the climate control module back in.
- Replace the climate control module.
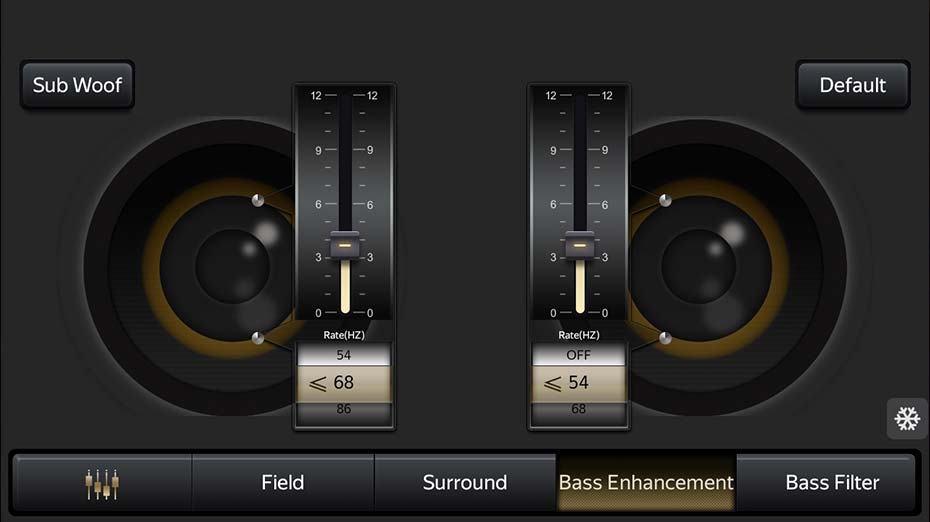
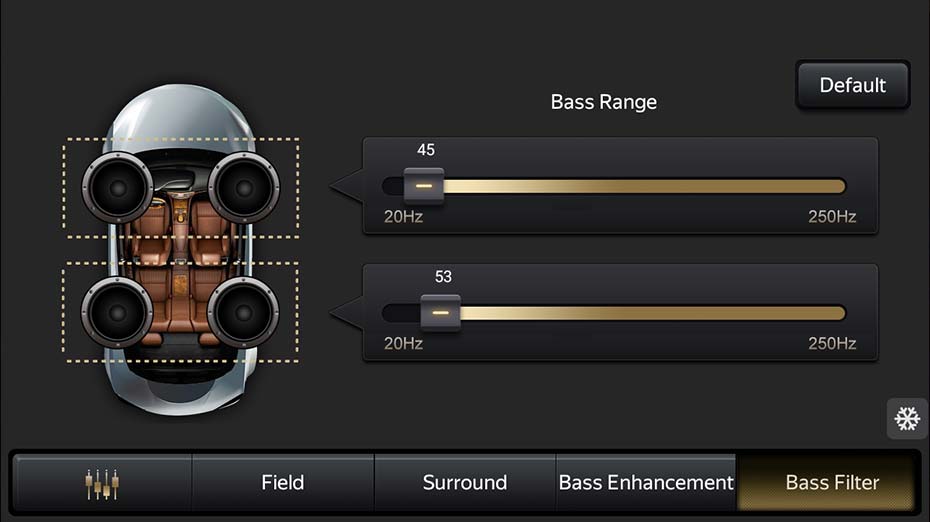
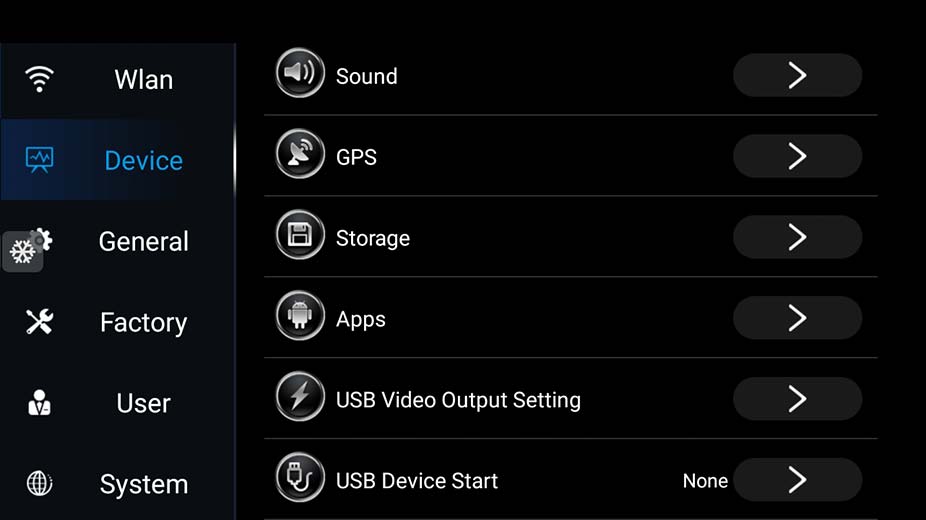
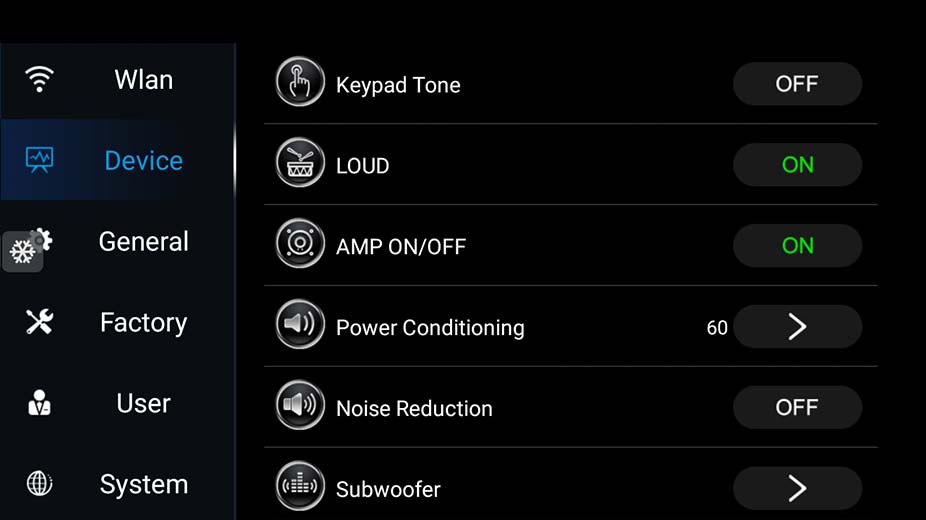
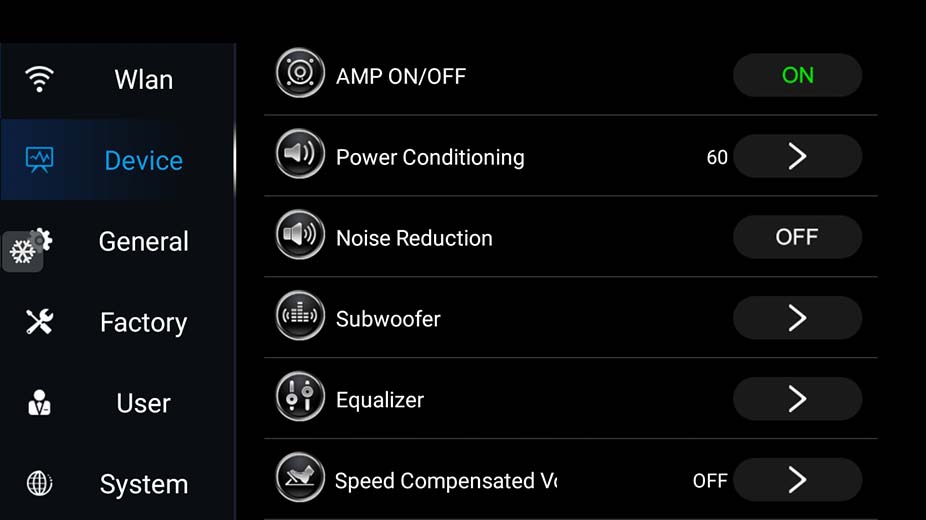
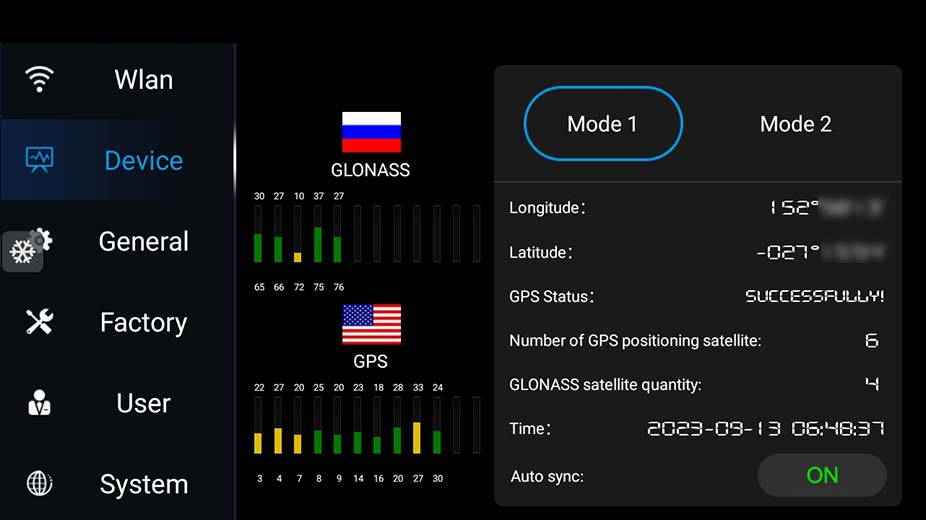
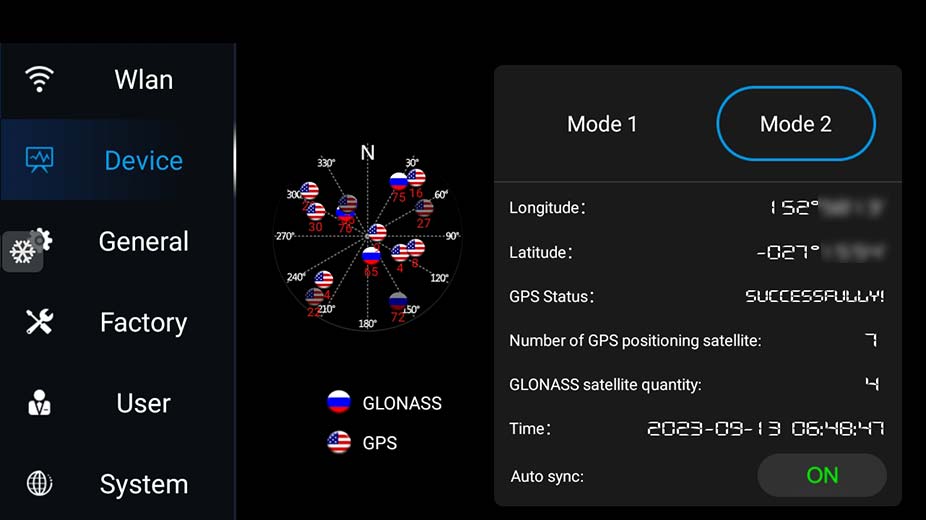
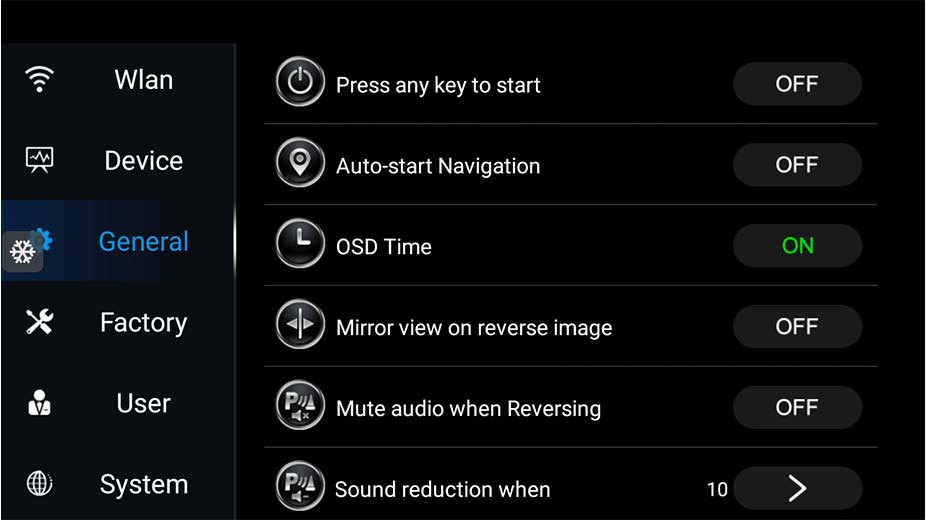
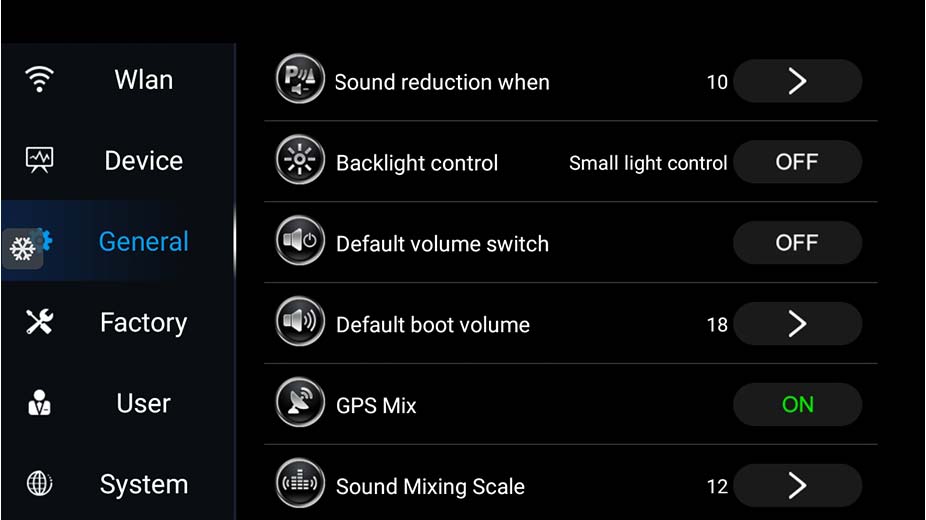
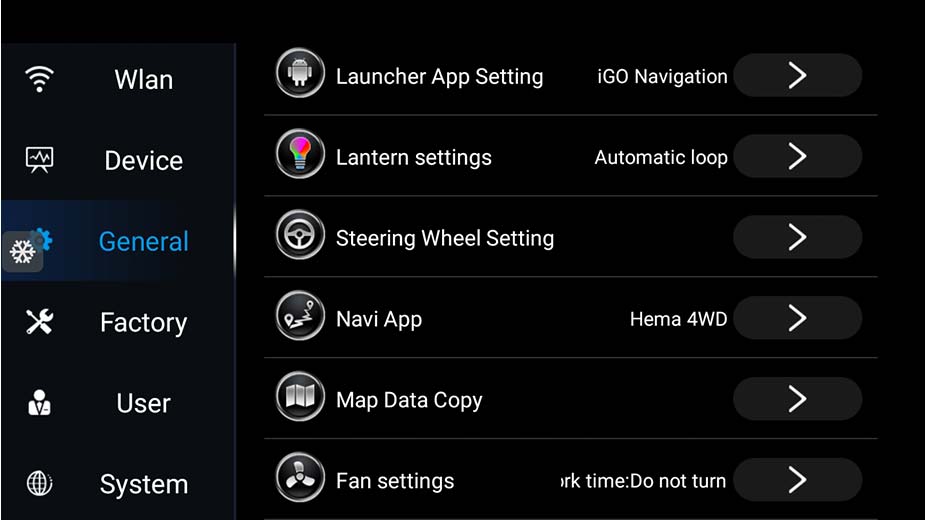
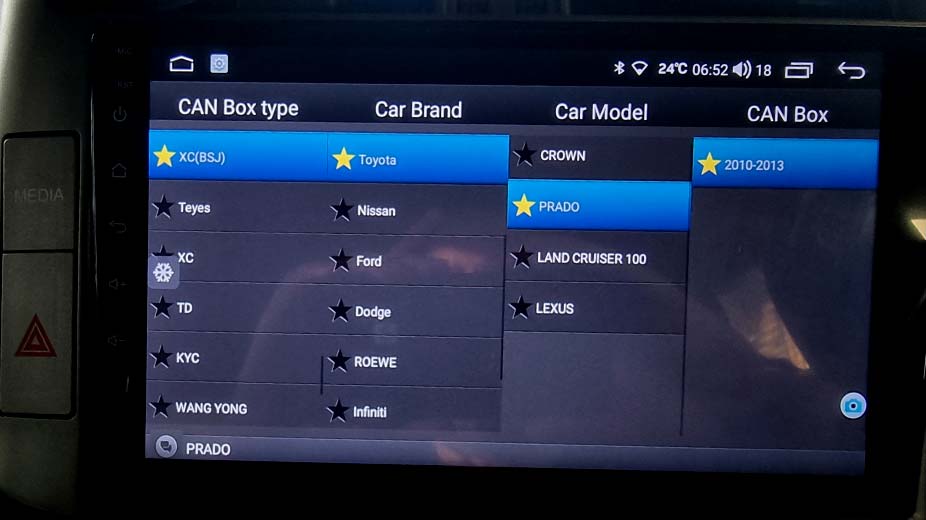
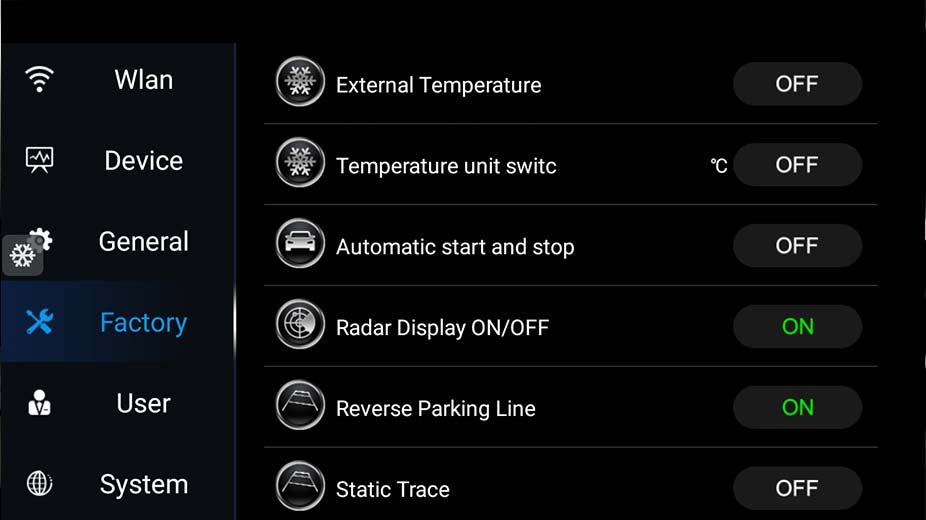
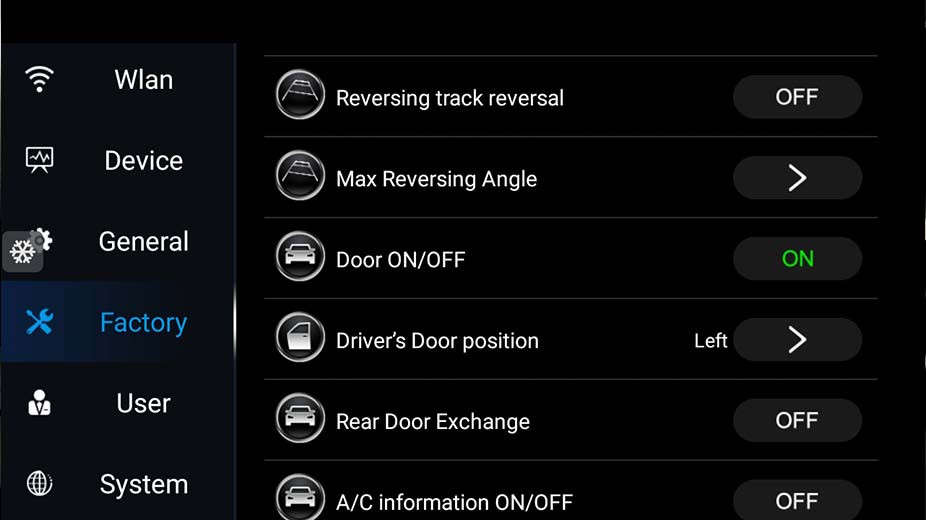
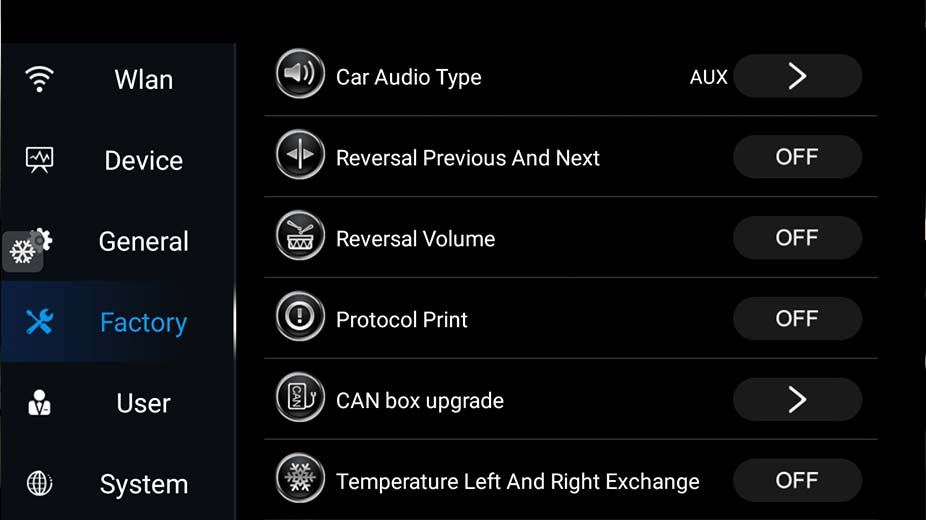
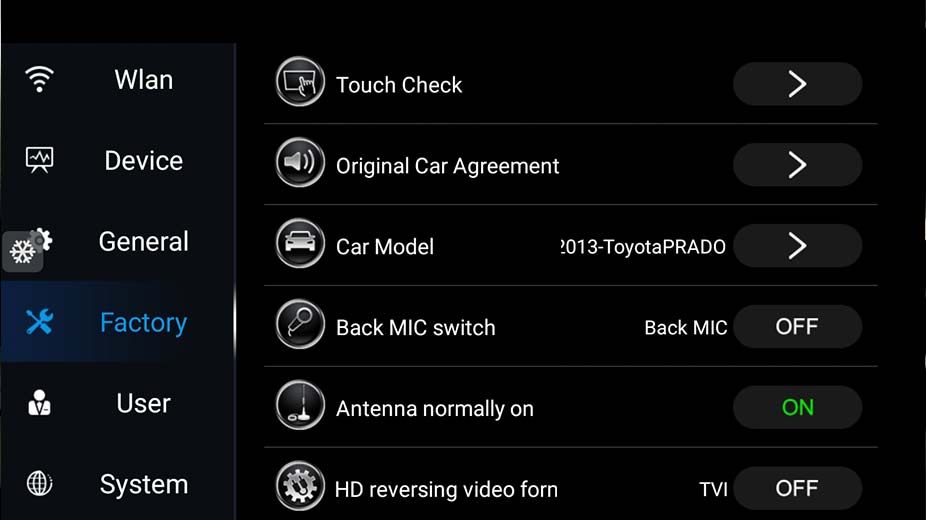
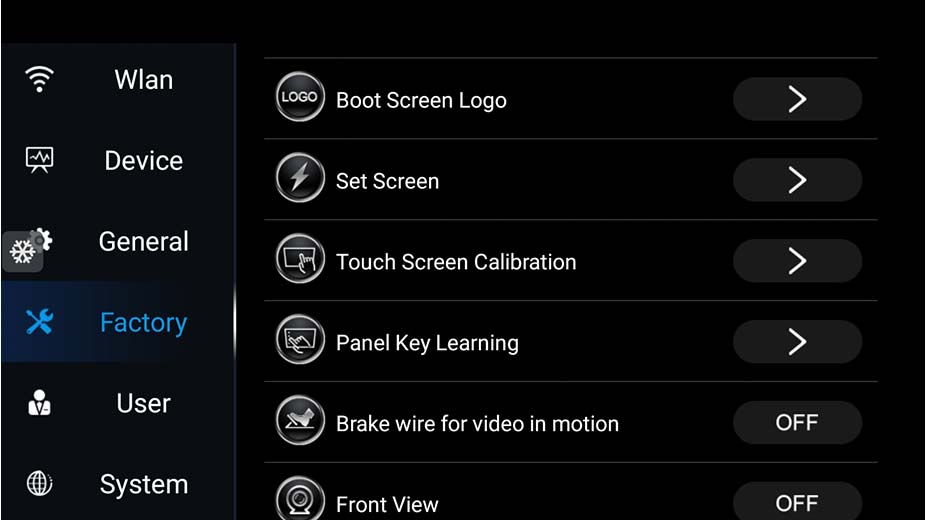
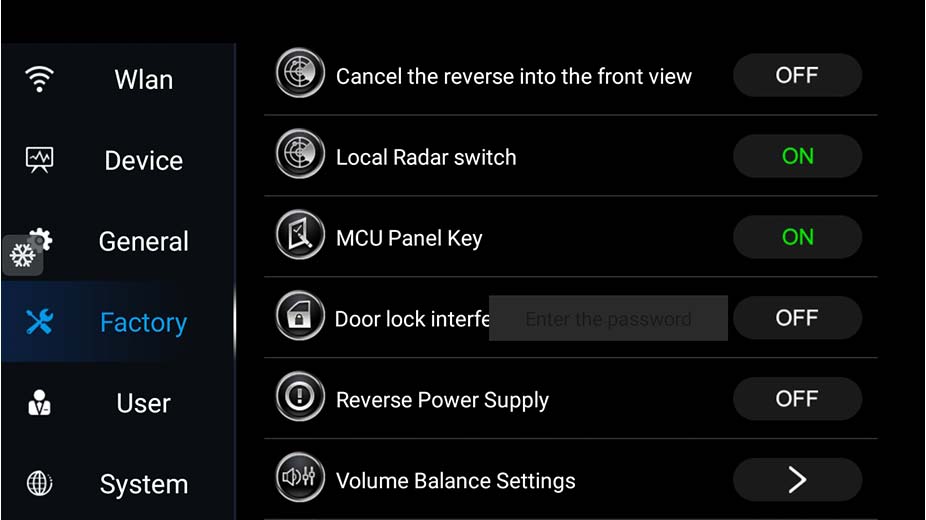
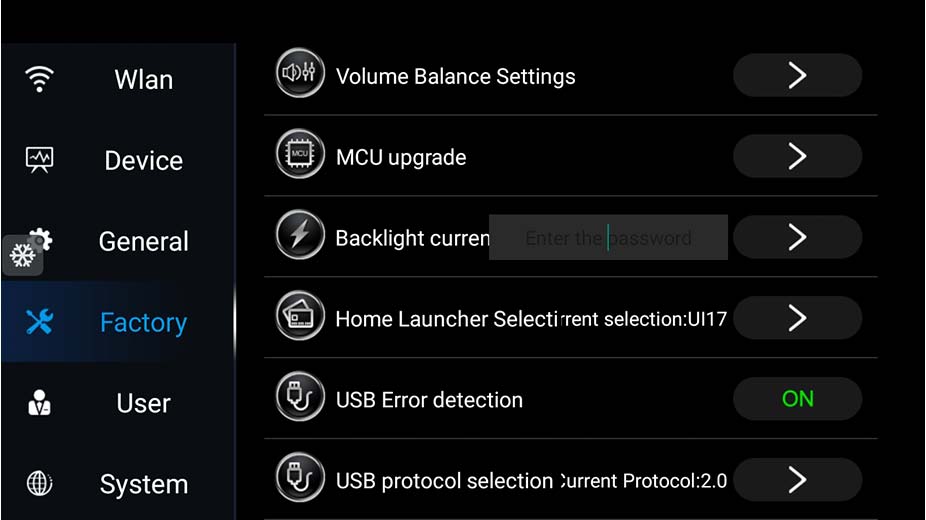
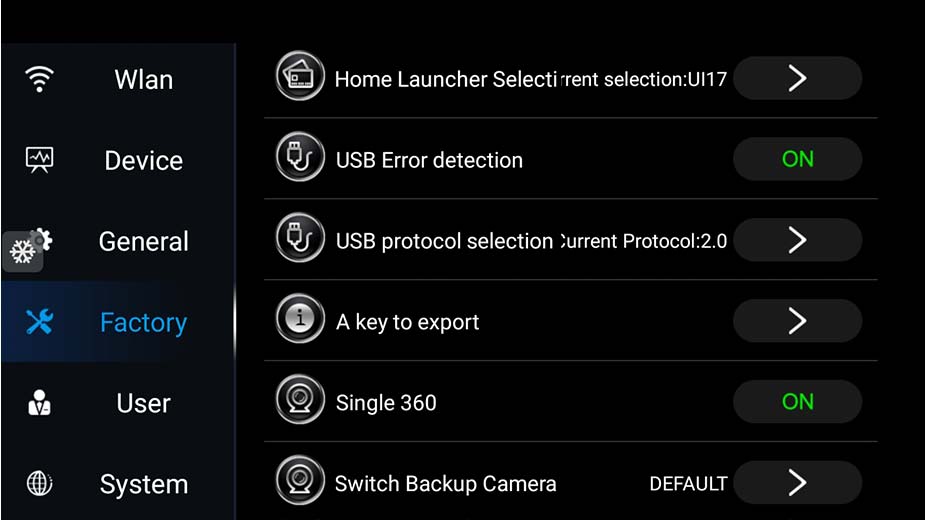
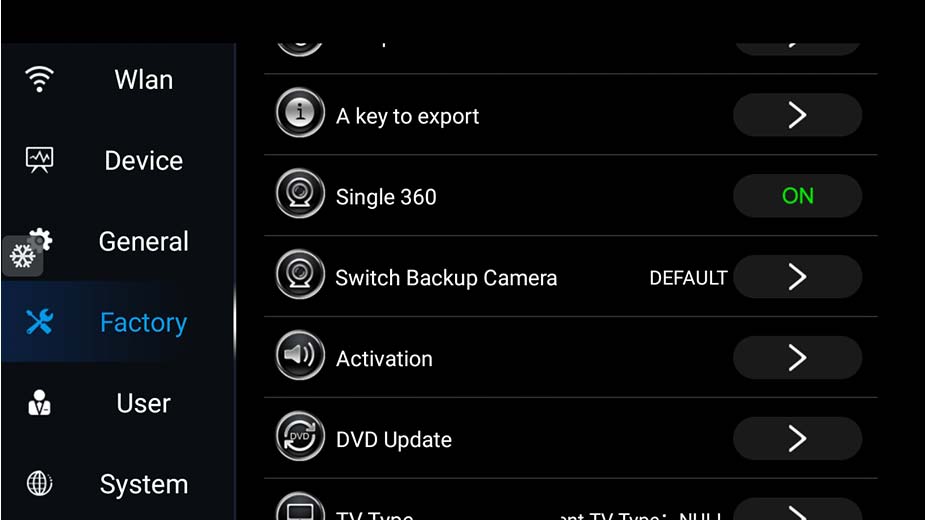
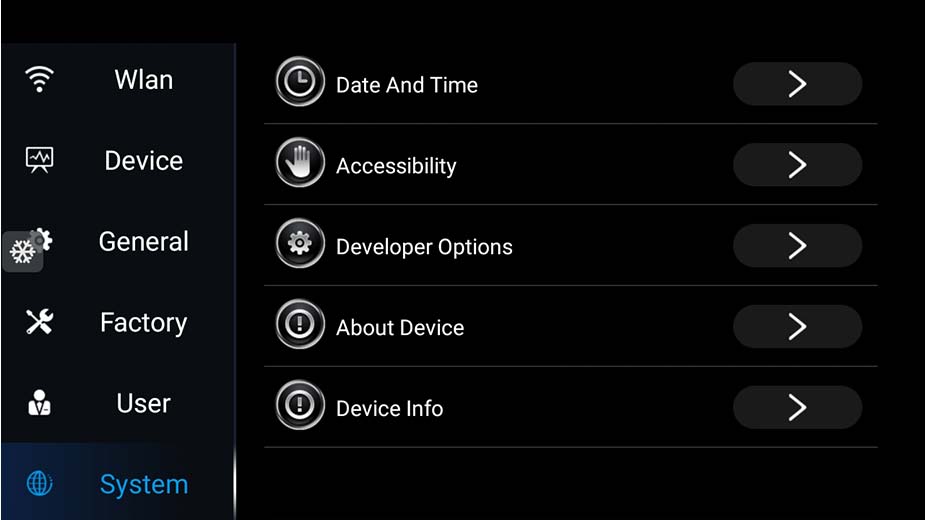
Default Settings
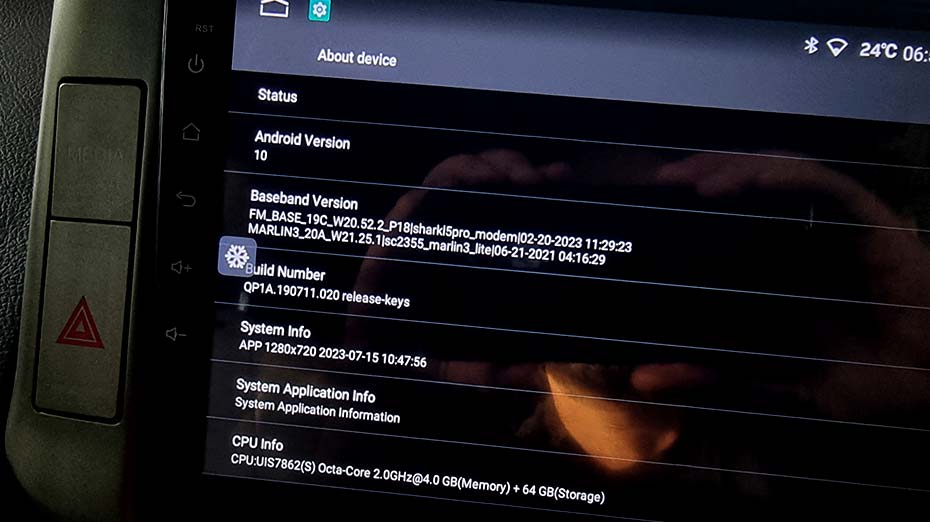
In case you need to factory reset, here are the defualt settings.
To access factory, you need to enter "3368".


Parts / Supplier / Price
| Item | Supplier | Price |
|---|---|---|
|
Head Unit Best option to retain ALL OEM features |
GPS Made To Fit (Closed Shop) |
$1,390 |
|
Fitting Head Unit wiring + Fitting |
Pine Rivers Car Electrics | $300 |
|
Rerverse Camera Upgraded 1080p AHD camera for better resolution |
Vhedia | $50 |
|
Front Camera Upgraded 1080p AHD camera for better resolution |
Vhedia | $34 |
|
Camera Selector 4 to 1 vehicle camera selector with wireless remote |
Vhedia | $74 |
Conclusion
No doubt, I was pretty pissed the way the goods were received without any manual or instructions.. After a fair chunk of time trying to figure it all out, it was only after speaking to Dan that we were instructed that the OEM screen needs to be removed from the main’ box module’. After this was done, there were no real issues. It was 3 hours at the Auto electrician to get the job done.
- On first drive, I noticed some weird bugs. A factory reset fixed all of these issues.. This could be due to many of the settings been pressed accidentally during the install.
- Now and then, on startup the ‘vehicle settings page may display. I’ve been told this is built in for non Kakadu models.. hopefully it will be removed in future firmware update.
- I’ve also noticed that sometimes the AC displays on the screen.. I’m assuming this has something to do with the climate control settings sending a signal from the canbus to the head unit.
- The original USB in the centre console will no longer work. This doesn’t bother me as I never used it as it’s a low voltage port. I run a cig to USB to get more amps to run the wireless charger USB.
In summary. Bloody fantastic!
There is no doubt that this is the first modification anyone with a preface lift 150 Kakadu should be looking into.
Now I just need to install the camera and camera switcher.
Gallery